
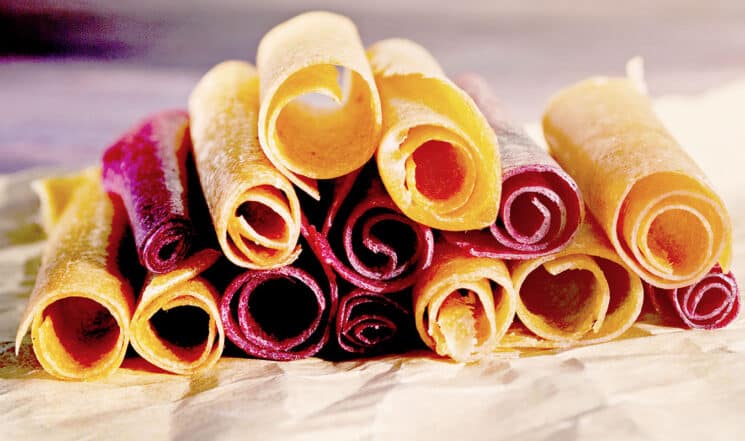
Making your own fruit roll-ups is as simple as blending fruit! There are a few simple tricks that if you follow, your fruit roll-ups will turn out thick, peelable, and delicious!
My kids love, love, love fruit snacks, fruit roll-ups……anything fruity and sweet. They would sit down and eat 5 packs of fruit snacks no problem! I just don’t feel good about them eating all that sugar! I do feel good about them eating fruit in another form though! My 5 year old has texture issues, especially with fruit and so sometimes eating a piece of fruit is difficult for her. But she will eat any fruit blended.
How To Make Fruit Roll-ups Without a Dehydrator
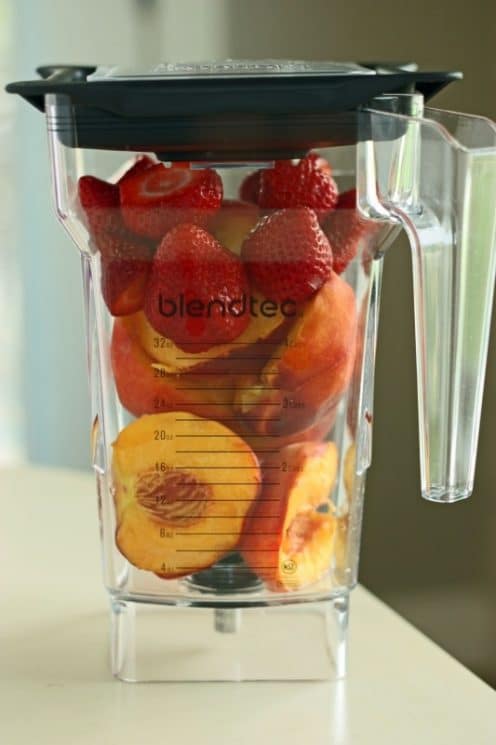
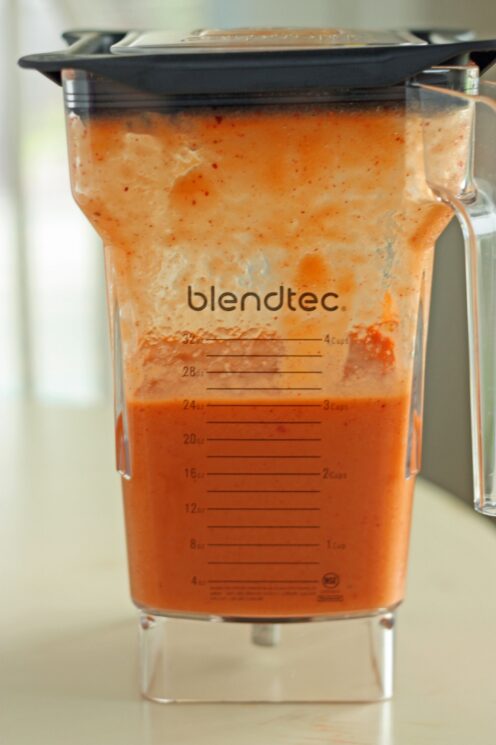
STEP 1: The first step is to blend your fruit. To make one pan, you will need about 5 cups of fruit. It can be any kind of fruit! We have tried it with lots of different kinds, and they all turn out delicious. Blend until very smooth.
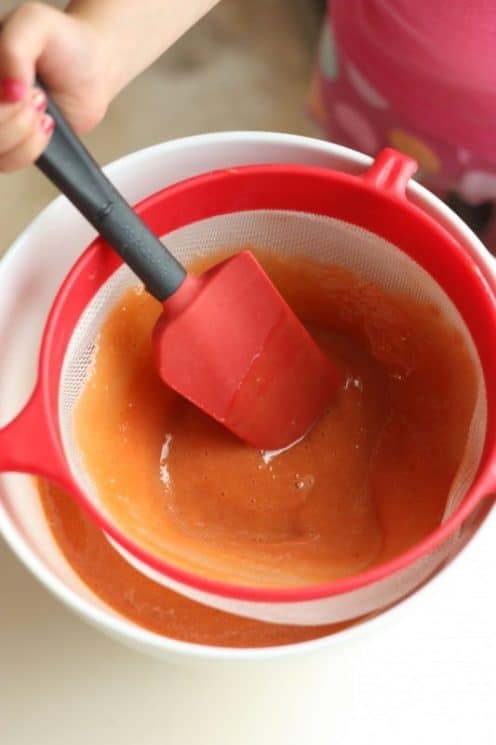
STEP 2: This next step is only necessary if your kids have texture issues, and your fruit has small seeds (strawberries, raspberries, etc) Pour your mixture into a fine mesh strainer, and stir until it has all moved through.
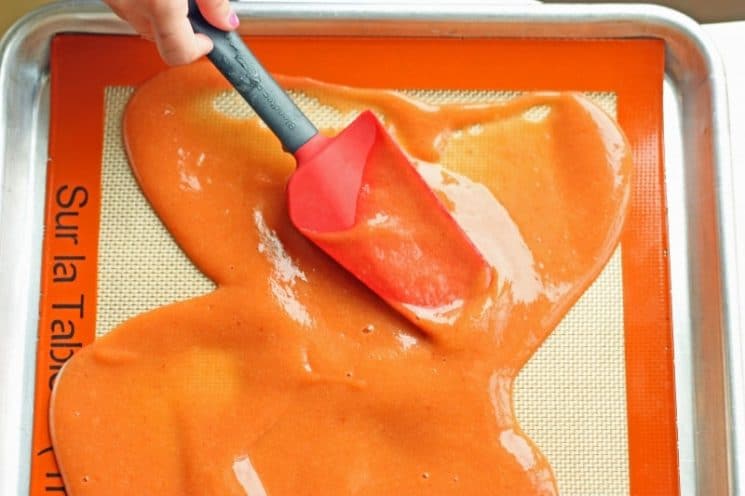
STEP 3: This next step is the most important! Pour your fruit mixture onto a baking sheet. Using a silpat, or silicone mat will give you the best success. You can also try using wax paper, freezer paper, or parchment paper, but none of these will give you the same quality as using a silicone mat.
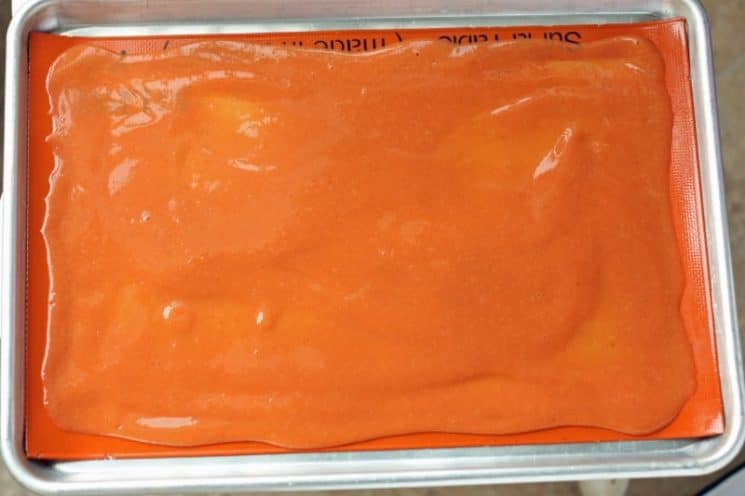
The key is spreading it very thick and even. The edges always get done the fastest, and can become thin and brittle, and so spread the mixture thick on the edges. The more even you can get your mixture, the better it will turn out. I leave mine at least 1/4 inch thick in all spots.
STEP 4: Once it is smooth and thick all over, you pop it in your preheated oven at 200 degrees F. It will bake for 4-6 hours depending on how thick you spread it, and how hot your oven cooks.
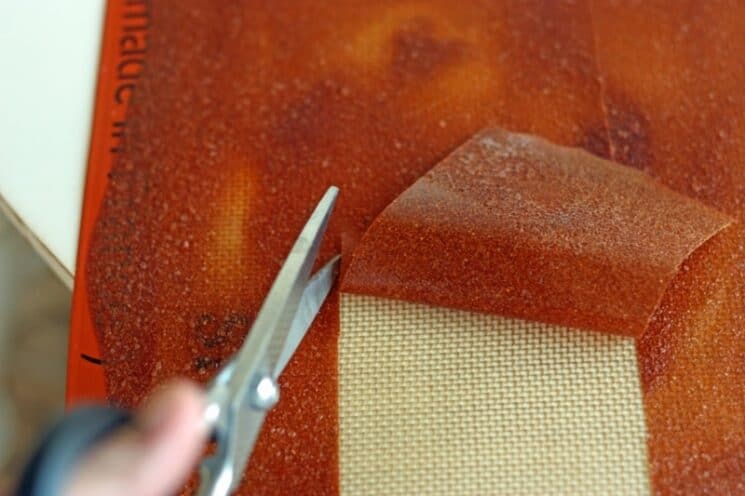
Once it has dried and isn’t thick and sticky in the middle, it is done. This typically takes between 4 and 6 hours depending on how thick your puree is. You can then peel it, and cut it into strips.
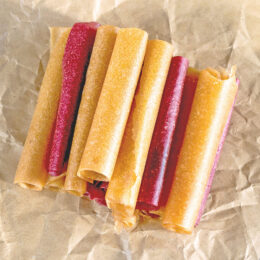
We rolled ours up in freezer paper and secured a cute ribbon around it. This is a great treat to send in your kids lunches, let them eat after school, or even at activities and sports!

Homemade Fruit Roll-Ups
Ingredients
- 5 cups fruit strawberries, apricots, peaches,
- silicone mat
- baking sheet
- fine mesh strainer optional
Instructions
- Blend fruit together until very smooth.
- Pour into a fine mesh strainer if you would like to remove seeds.
- Line a baking sheet with a silicone mat. Preheat oven to 200 degrees F.
- Pour mixture onto mat, and spread very even with a spatula. Leave mixture at least 1/4 inch thick, especially watching the edges.
- Once mixture is smooth and even, place in the oven and bake for 4-6 hours until the mixture has dried completely.
- Cut with scissors into strips and roll with parchment or freezer paper.
- Store for up to 1 month.